Creating an intranet is where you turn your vision into a real, working platform. In the previous article, we defined users, structure, and governance. Now is the time to learn how to create your intranet using SharePoint.
There are many helpful guides out there. This article does not aim to compete with them. Instead, it provides you with a step-by-step guide to creating your intranet portal. It links to proven guides where more detail is useful.
Before you start building your portal, align your intranet plan with the appropriate SharePoint or Viva elements. Each type has a specific purpose. The main options, used most commonly, are:
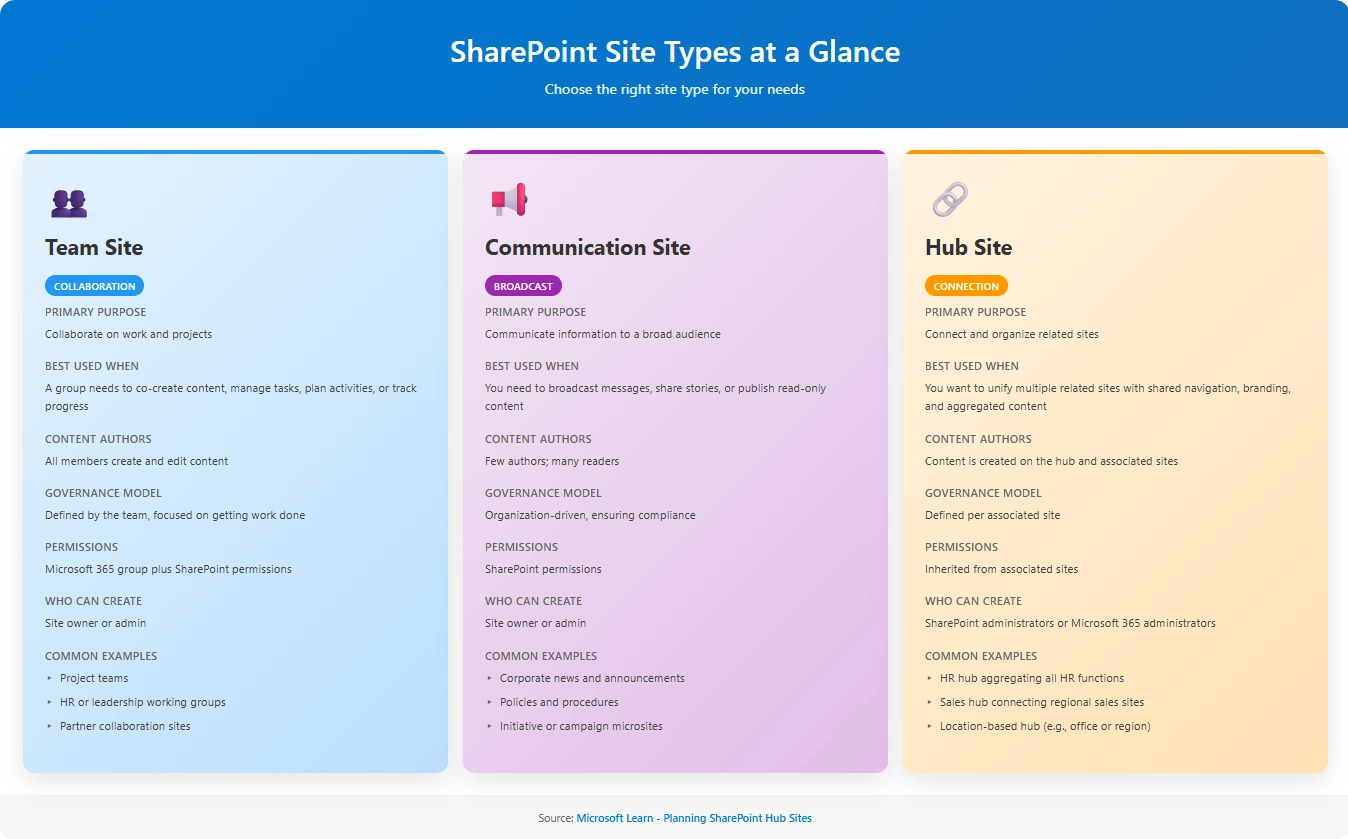
Source: Microsoft Learn
There are two additional site types: Home sites and Organization news sites. A home site is a default site within Viva Connections. Organization news sites help to promote news across the company at scale. They are helpful, but you do not need to use these site types to build an effective intranet.
With a good plan at hand, the decision on which element to use is relatively straightforward. Still, you should think this through. Although it may not be crucial which site type you use, you may not be able to change it later.
A SharePoint Hub Site with News
If you’re looking for more guidance on your intranet’s site planning, please refer to the Planning Hub Sites article.
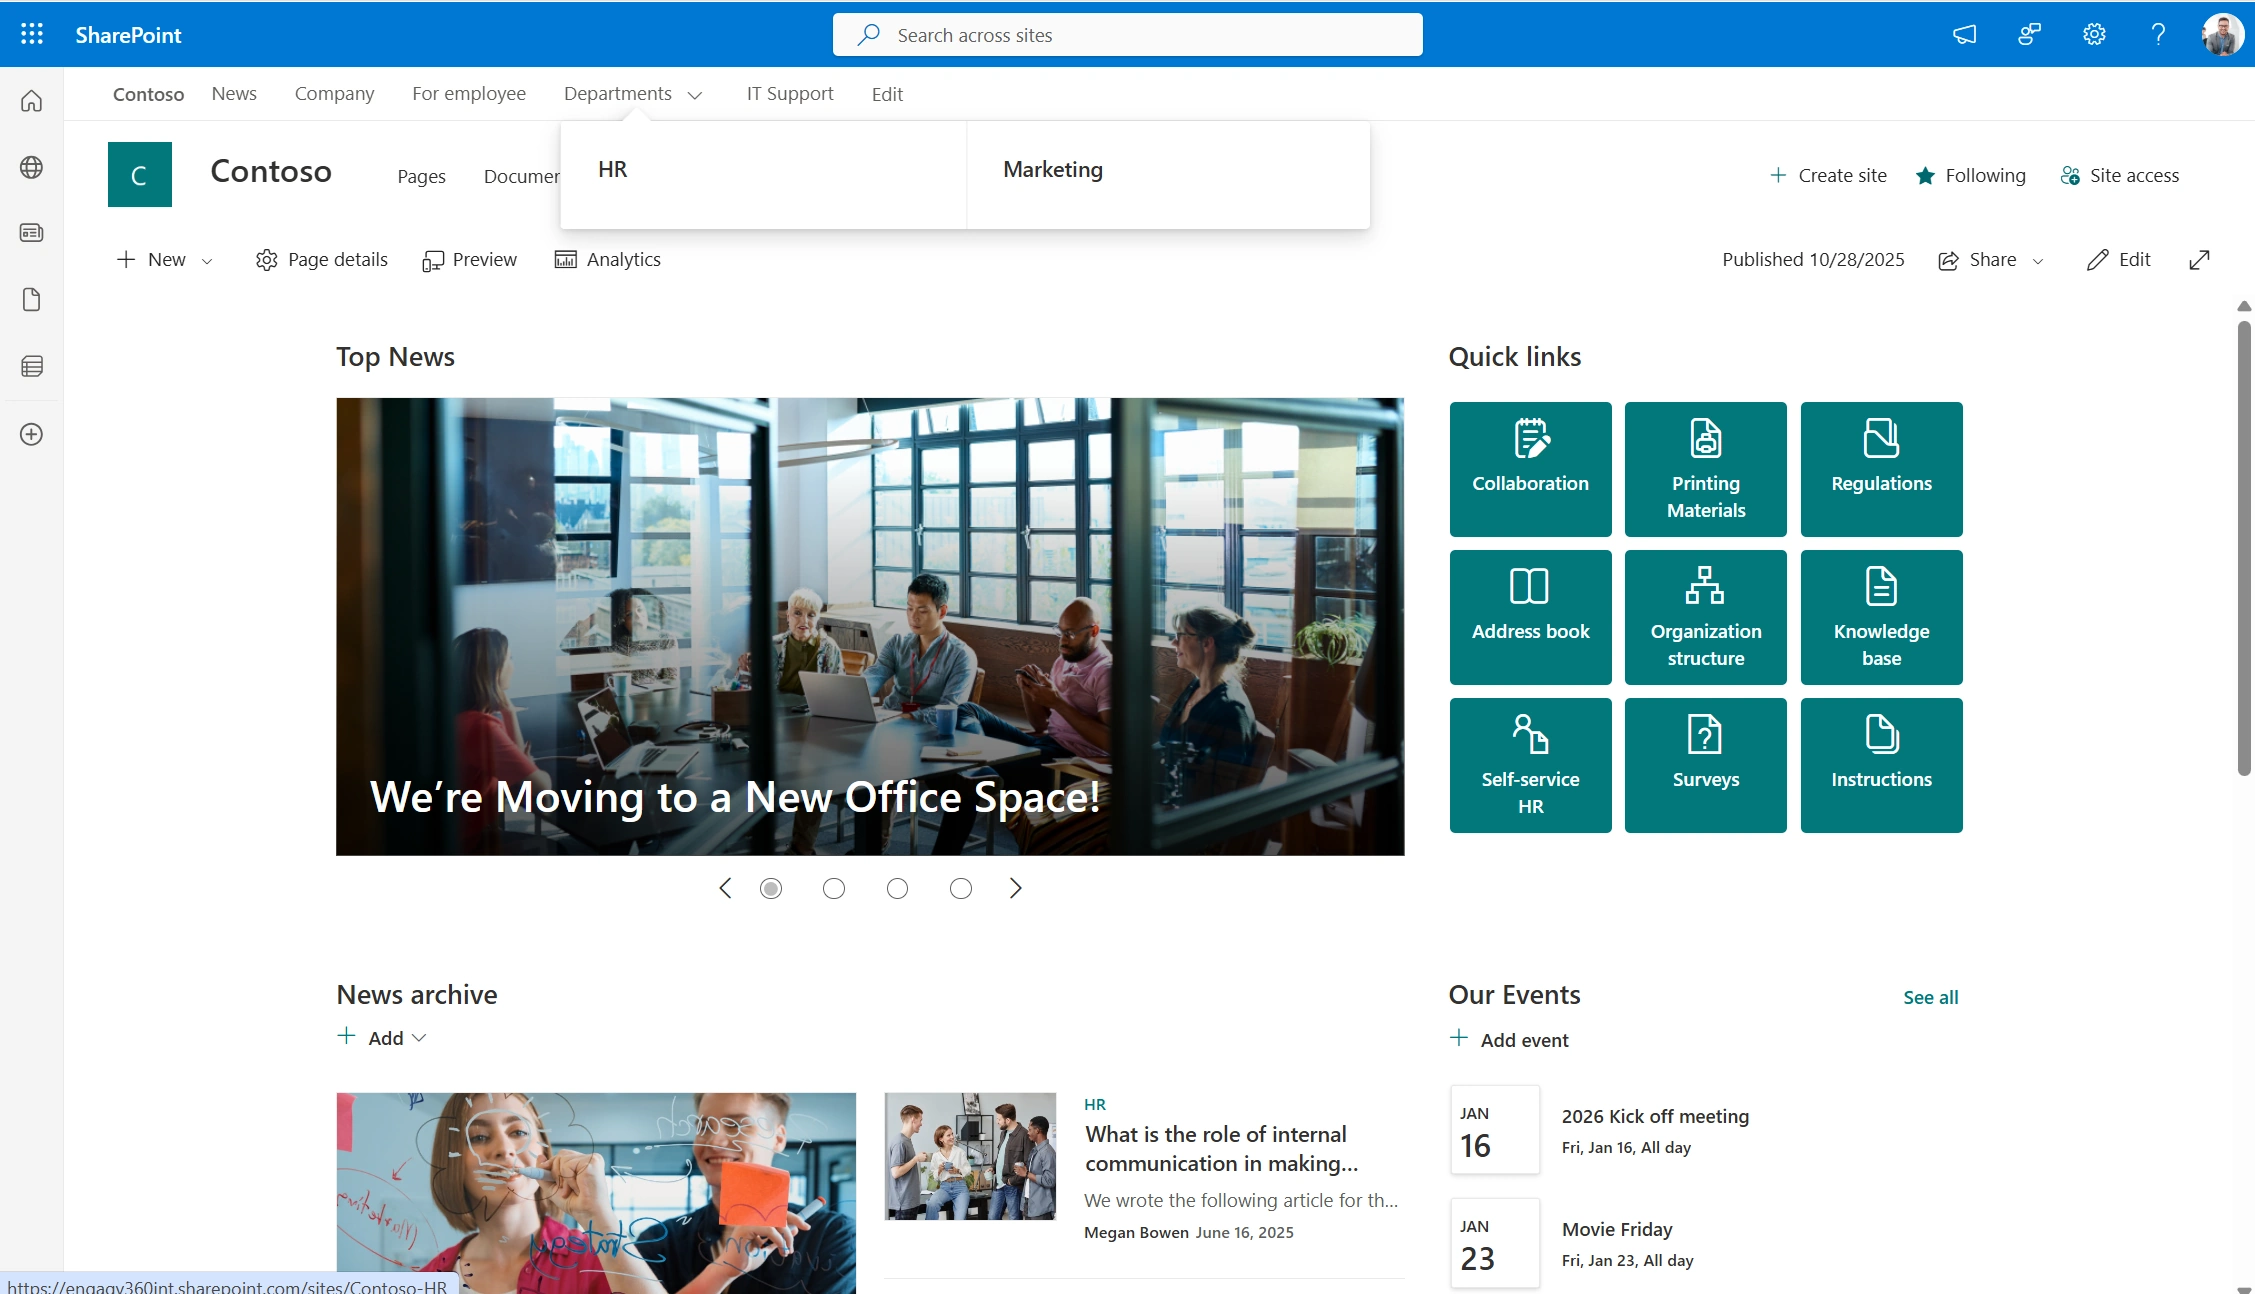
Once you have mapped your plan to the right site types, you can start building your intranet structure. Use the SharePoint Admin Center, the SharePoint Online landing page, and Viva Engage to create the necessary sites and communities. Please refer to the following guides for more details regarding the creation of the specific elements:
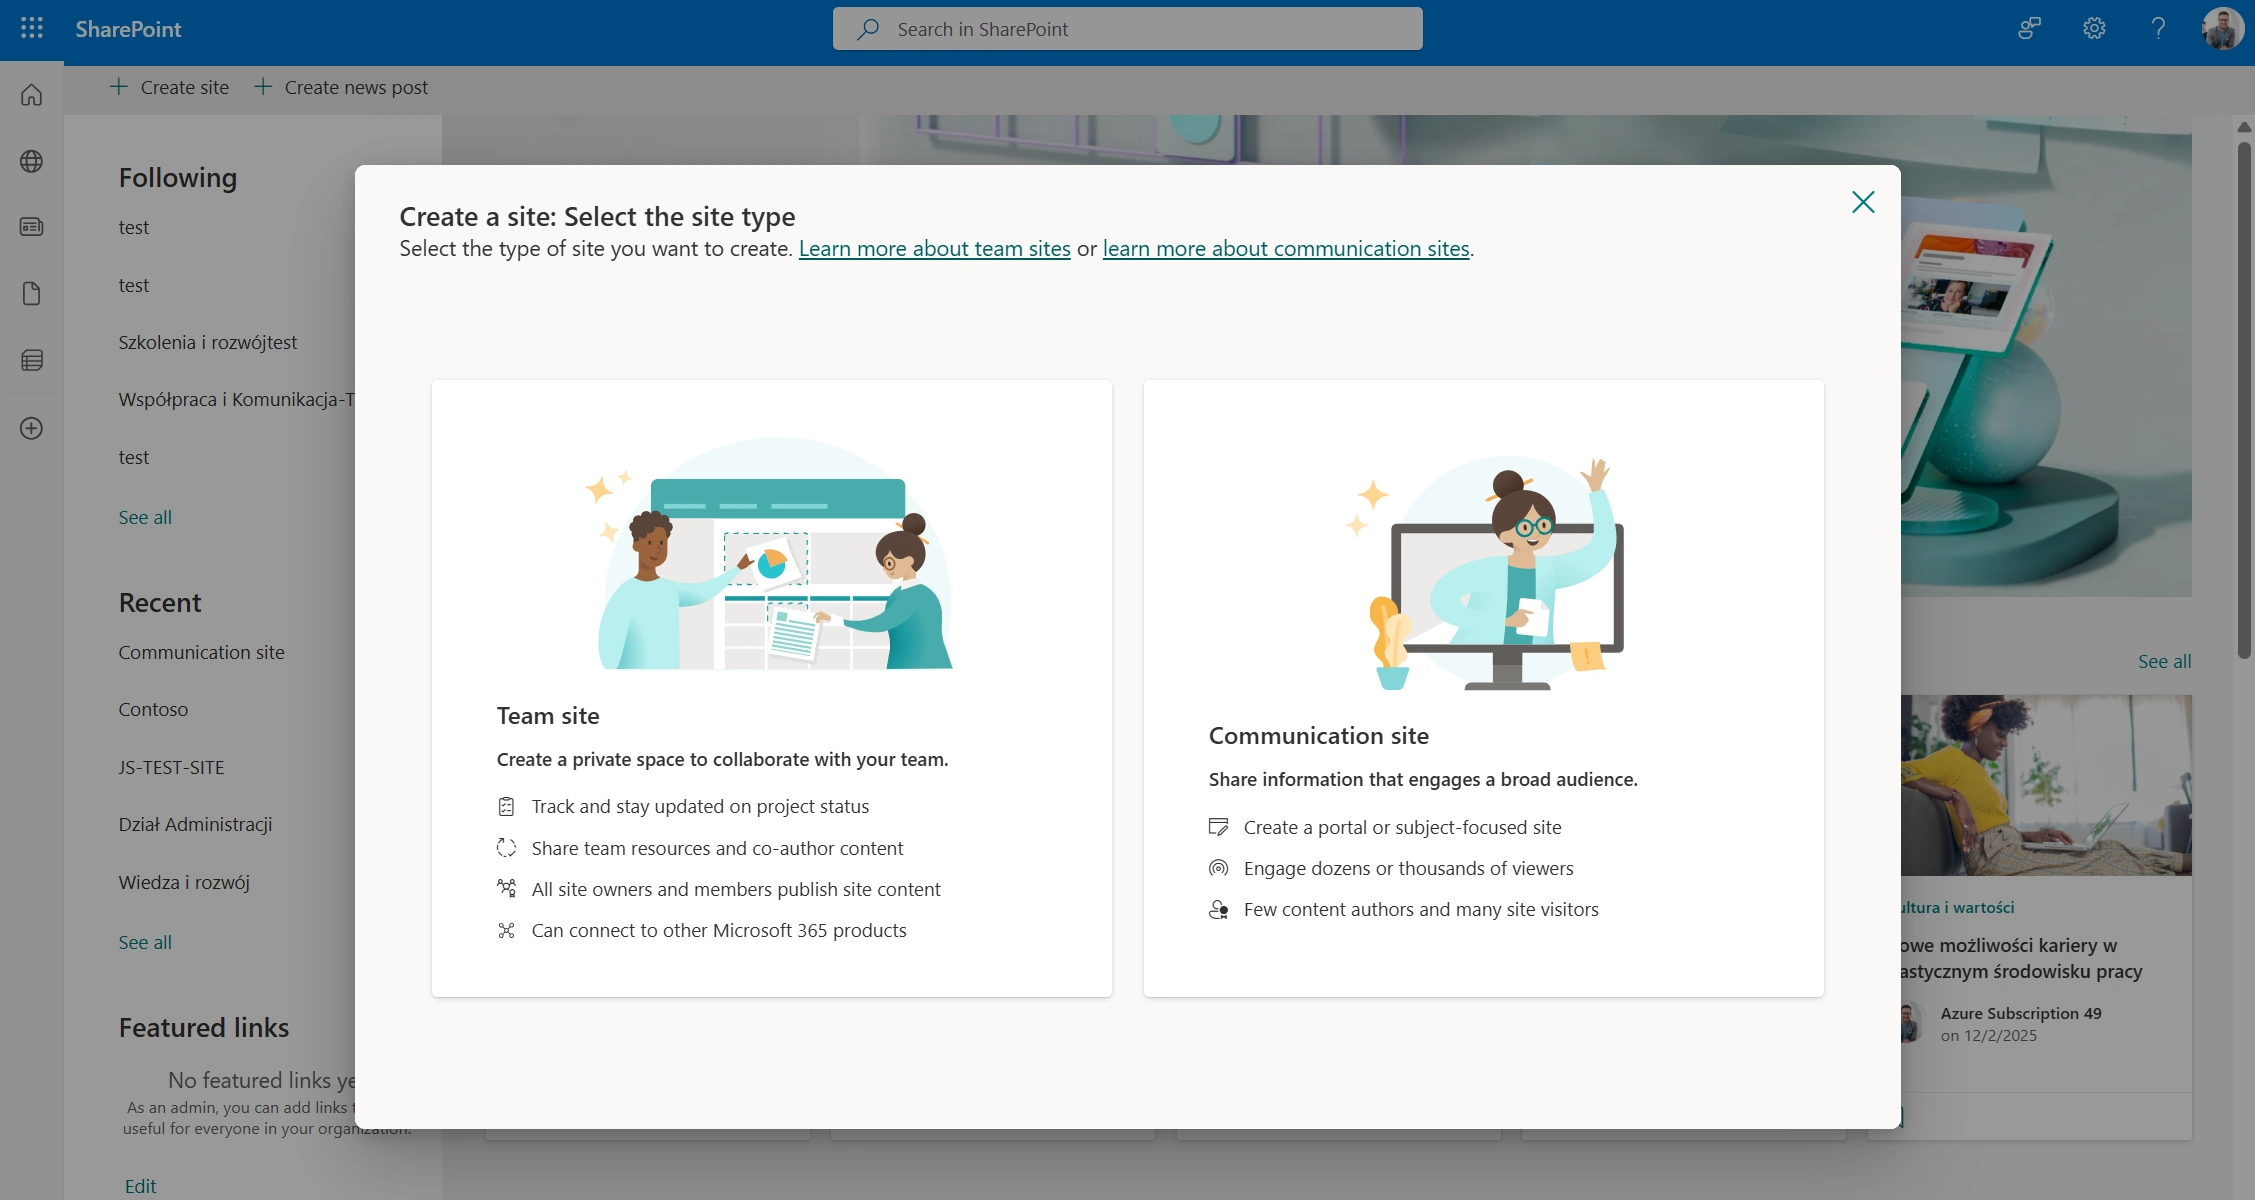
Site creation in SharePoint
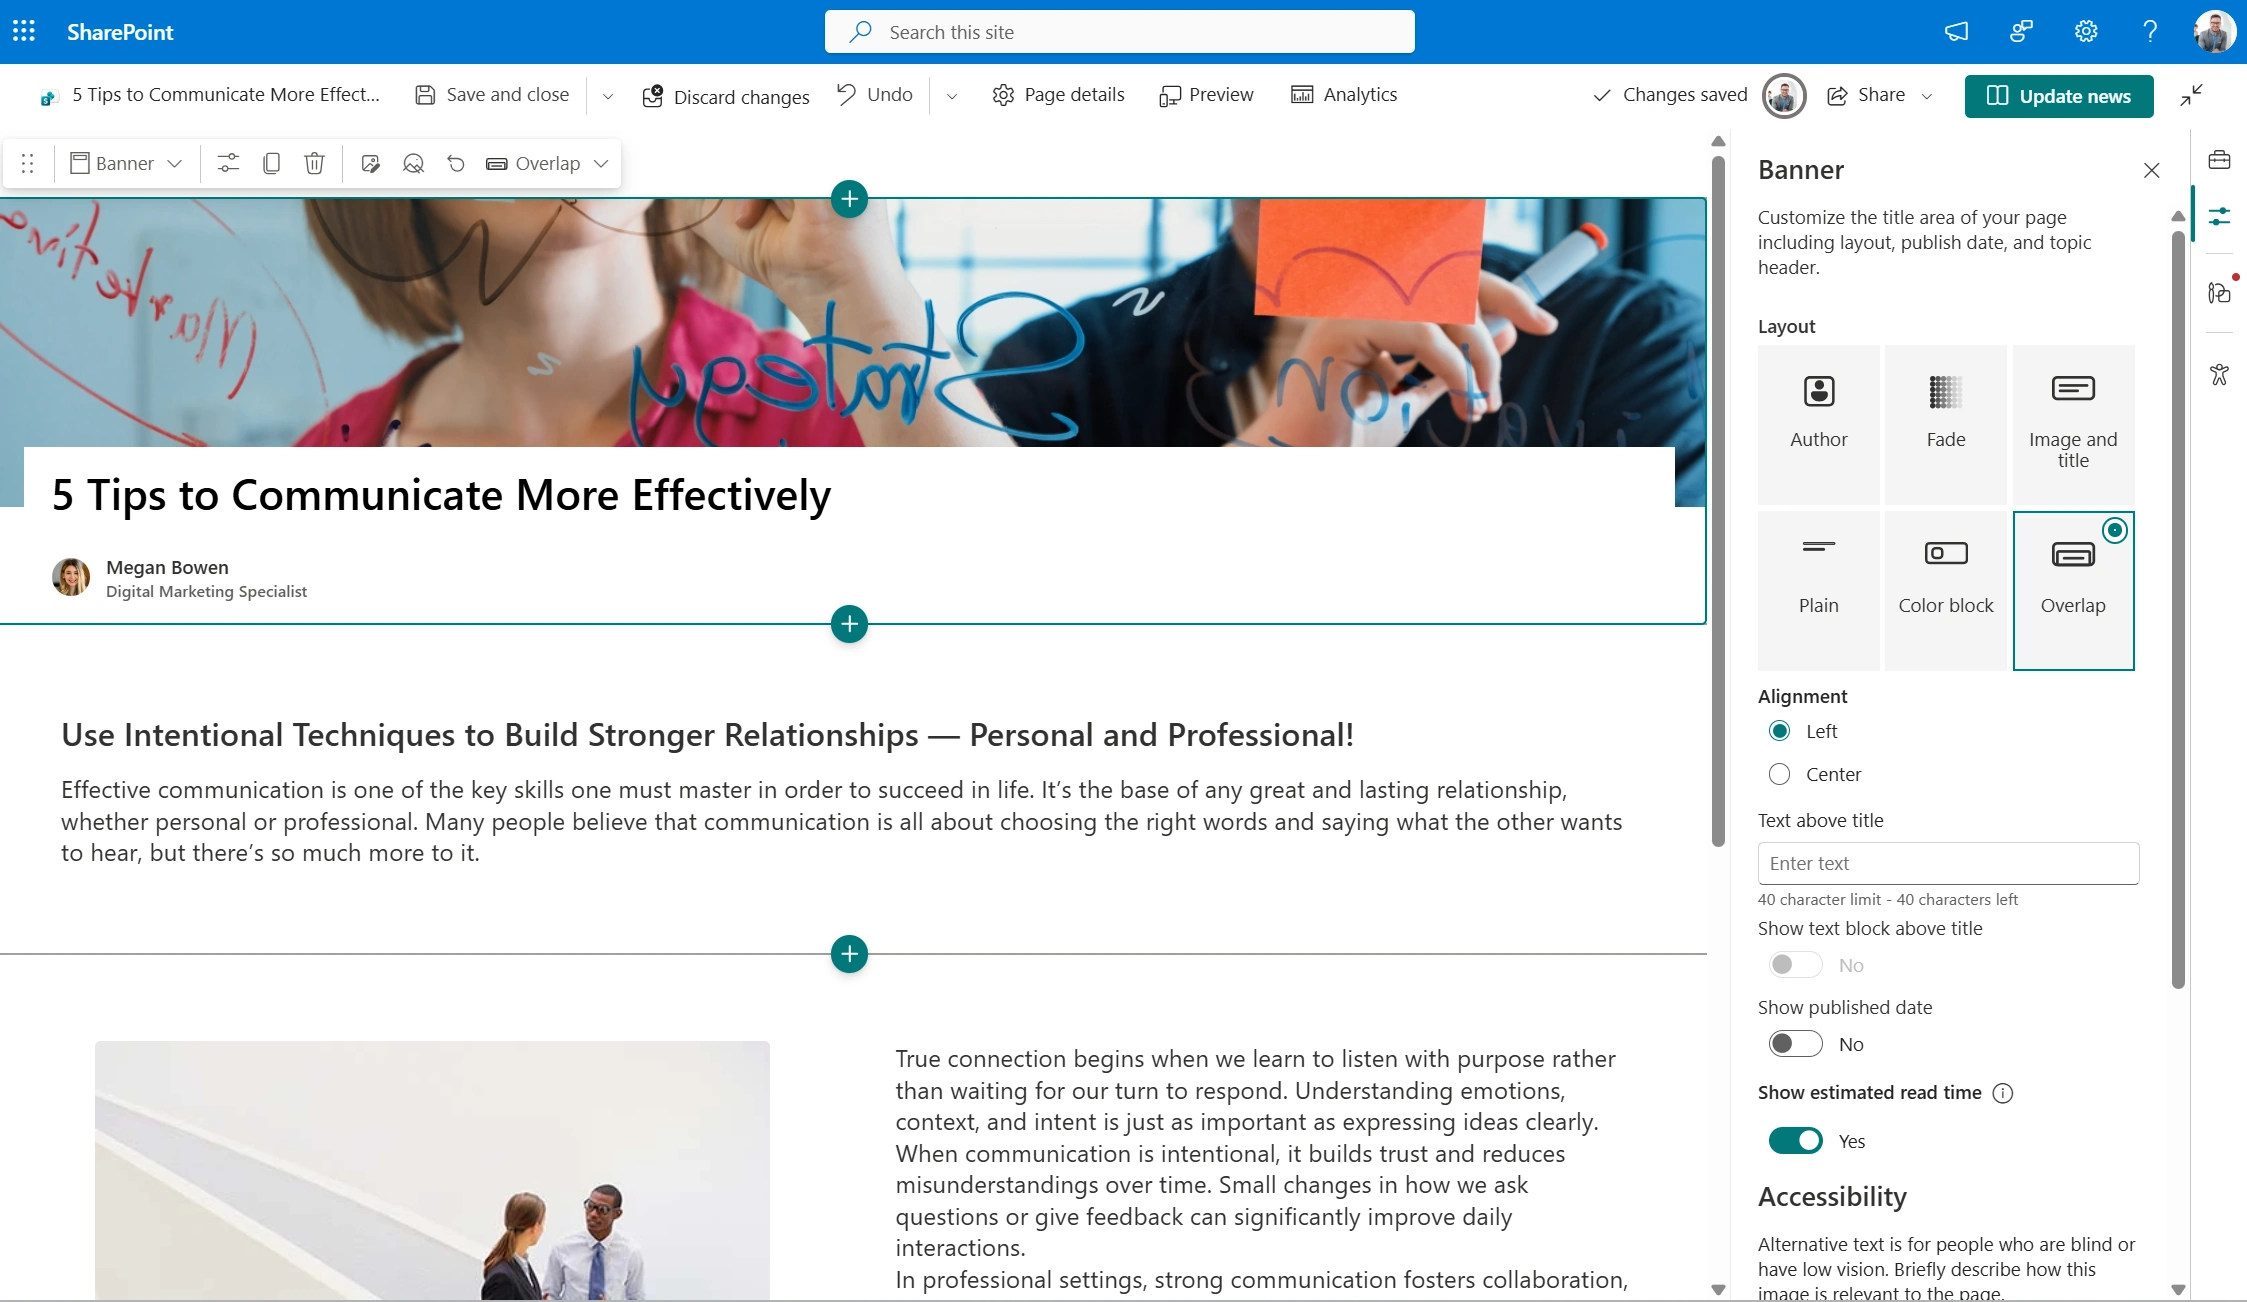
Once you create the high-level structure, you can move on to the pages. Each SharePoint site already comes with a landing page; no need to implement one. You should focus on:
SharePoint CMS is straightforward, and you should not have problems creating pages. If you need more guidance on this, please refer to the following page creation guide.
SharePoint CMS
When your pages are ready, start adding content. SharePoint’s CMS utilizes sections that contain web parts – page elements that display or store content. Using them allows you to create clear, engaging pages that present your information effectively. The most common web parts are:
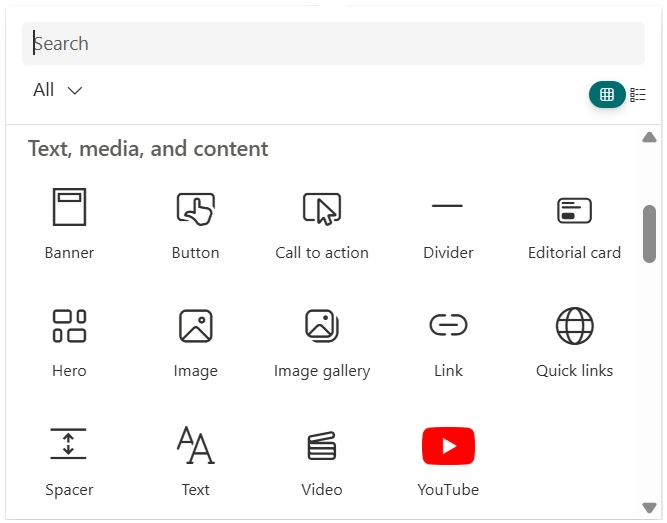
SharePoint Web Parts
In case you need more help working with web parts, follow this knowledge base article on Using web parts on SharePoint pages.
A good structure transformed an outdated knowledge base. A retail company needed to replace its dying knowledge base system. Instead of a basic migration, IT expanded the scope—they’d build a proper intranet at the same time. They mapped the old content into a better structure and created templates that let subject matter experts easily add information. The knowledge base went from an IT-only tool to a company-wide resource.
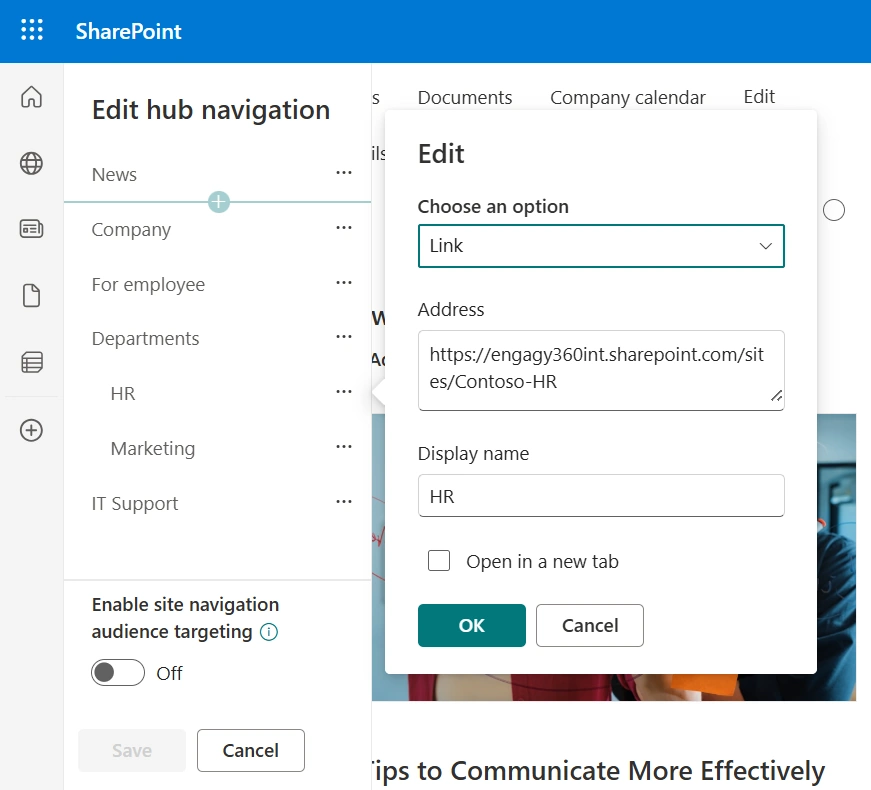
With your structure and content in place, the next step is to link everything into a coherent intranet. Navigation ensures users can easily browse the portal. SharePoint offers four types of it:
SharePoint Navigation
Finally, connect all relevant sites to your hub site and let them inherit hub navigation. Your users will see the same menu everywhere, reducing confusion and keeping them oriented.
You can find more details on navigation levels here.
A good interface is key to user experience. Your intranet should feel predictable and familiar at all times. As users move between sections, they should feel they are still using one unified product. The content may change, but the experience should not.
The intranet is not a critical system. Users will abandon it if the experience feels confusing. Familiarity builds trust, and trust drives adoption.
Using templates and providing consistent branding helps a lot. SharePoint gives you a few helpful options here:
Templates make the editing tasks easier. It makes browsing your intranet much simpler, too.
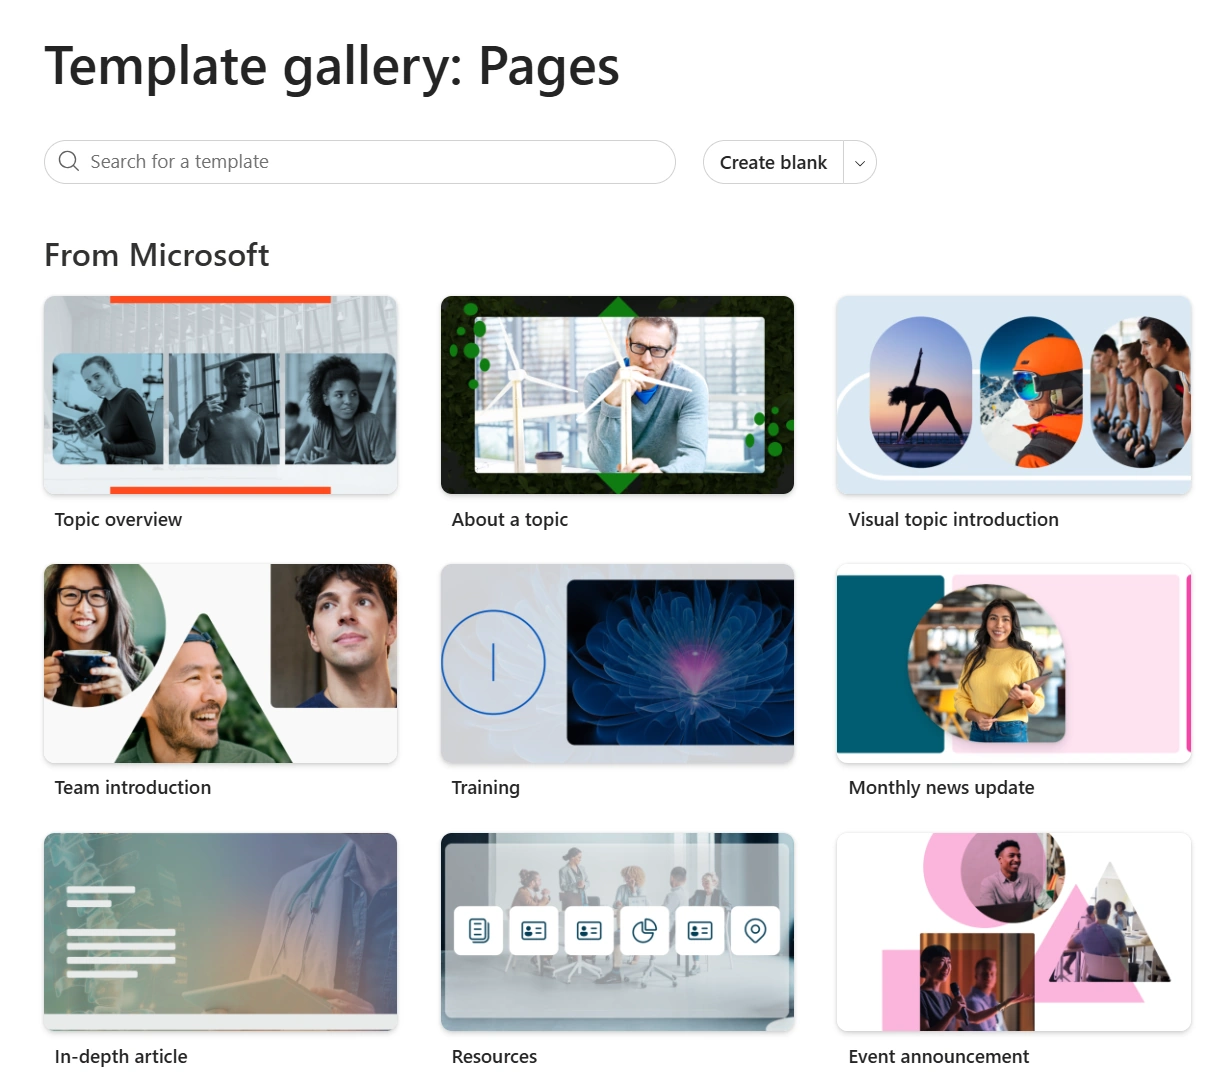
SharePoint Page Templates
Branding takes this further. It visually connects the intranet to other digital services your employees use daily. And since users spend most of their time outside the intranet, consistent corporate branding helps them feel at home from the start.
SharePoint offers a variety of tools that let you customize the look of your portal. You can:

SharePoint Brand Center
Custom branding not only fosters trust. It also signals that the intranet is a reliable, official part of your digital workplace.
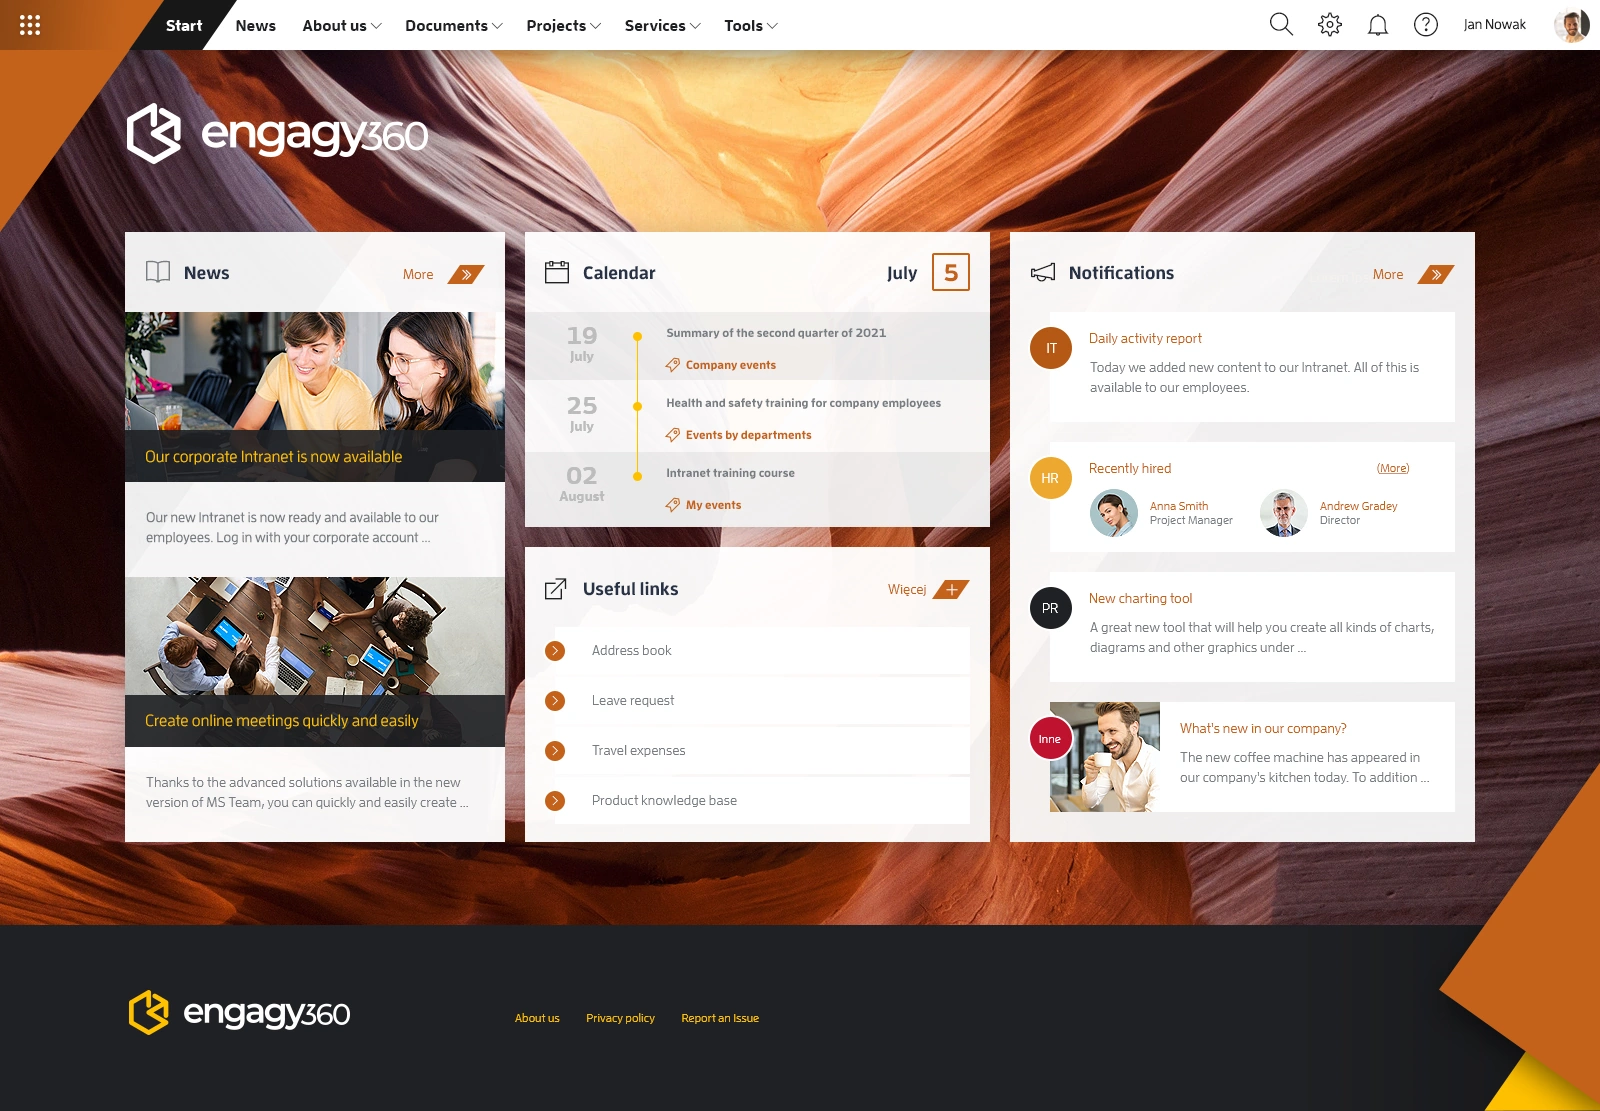
SharePoint helps your intranet stand out. If you wish to take this a step further, you can use Engagy360 branding extensions. See for yourself how appealing your intranet will be.
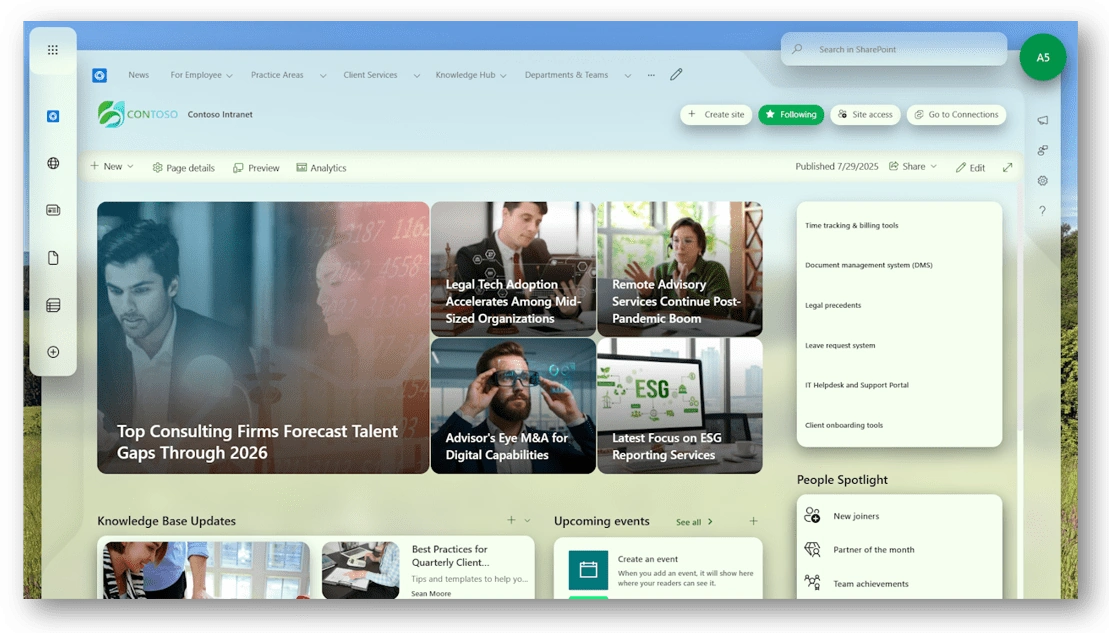
Fully Branded SharePoint Portal
Digital friction happens when users spend extra time switching between tools. Every switch slows them down. Your intranet should reduce friction, not add to it.
You can go further and make the UX even better. Provide users with key information without switching apps. Ideally, directly within a homepage. For example:
Microsoft 365 includes Viva Connections service, which helps you build a personal dashboard. It can show data from other systems, link apps, and provide shortcuts to save time.

Intranet with Viva Dashboard
A good mobile experience is essential. Every part of the intranet should work on a smartphone. Pages should adjust smoothly to different screen sizes. A mobile app can make access even easier.
SharePoint is responsive by default. Pages adjust automatically. There are also the SharePoint mobile app and the Viva Connections app. Both allow browsing intranet content on the go.
You can build a custom mobile app, but it takes careful planning. Making an app is easier today. Supporting it on different devices takes ongoing effort. Before investing, check if the built-in options already meet your needs.
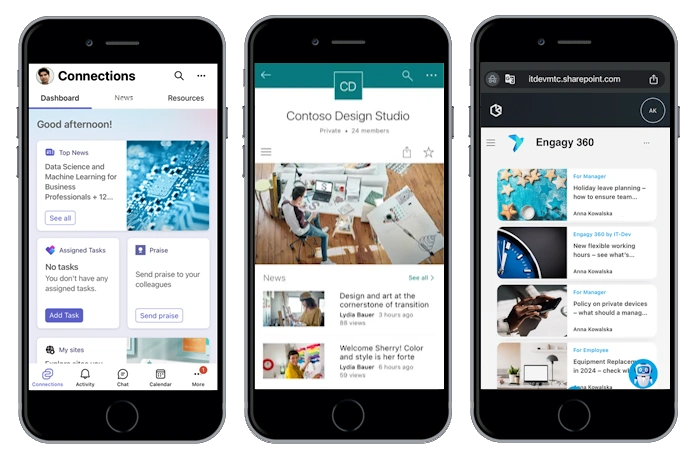
Different Mobile Experiences: Viva Connections, SharePoint App and Responsive View
SharePoint lets you build an intranet that works from day one. It allows you to turn your plan into a usable platform. With the proper structure, clear design, valuable tools, and a mobile experience, you create a portal users can rely on from day one.
But creating an intranet is just the start. To truly succeed, you need to think about meeting your goals. In the following article, we will explore SharePoint Analytics, crucial in the context of long-term intranet adoption.

See your intranet come to life before you commit. With Engagy360, you don’t just imagine your ideal digital workplace. You get a working prototype tailored to your organization, ready to explore and test. Schedule a demo and see your intranet in action!
Book a demo